Trek Technologies
OCLV Carbon
 OCLV Carbon is Trek’s patented carbon fiber process, the result of more than 25 years of experience building the world’s finest carbon fiber bicycles in Waterloo, Wisconsin, USA. Experience matters, especially when working with a material that holds seemingly endless possibilities but presents such unique challenges as carbon fiber. To understand the best technology, you have to build it, and we’ve been doing just that since 1991.
Read More
Alpha Aluminum
Aluminum frames and components have been commonplace throughout the cycling industry for much of its history, but that doesn’t mean there aren’t extraordinary opportunities for advancement and perfection. With Alpha Aluminum, Trek has applied the most sophisticated concepts of metallurgy and stretched them to the absolute maximum—building frames that are strong, light, and provide a ride quality that rivals that of many of their carbon counterparts.
Read More
IsoSpeed
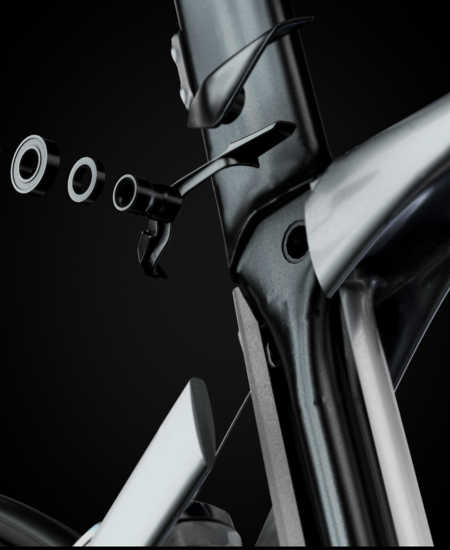
IsoSpeed diminishes the fatiguing impacts of the road, allowing the rider to remain fresher longer. IsoSpeed challenges the traditional design of a bicycle frame. Devoid of the more favoured approaches to the compliance quandary such as a vibration damper, IsoSpeed maintains the diamond-shaped frameset geometry but also decouples the seat tube from the top tube which flex with the forces of the road.
Minolink
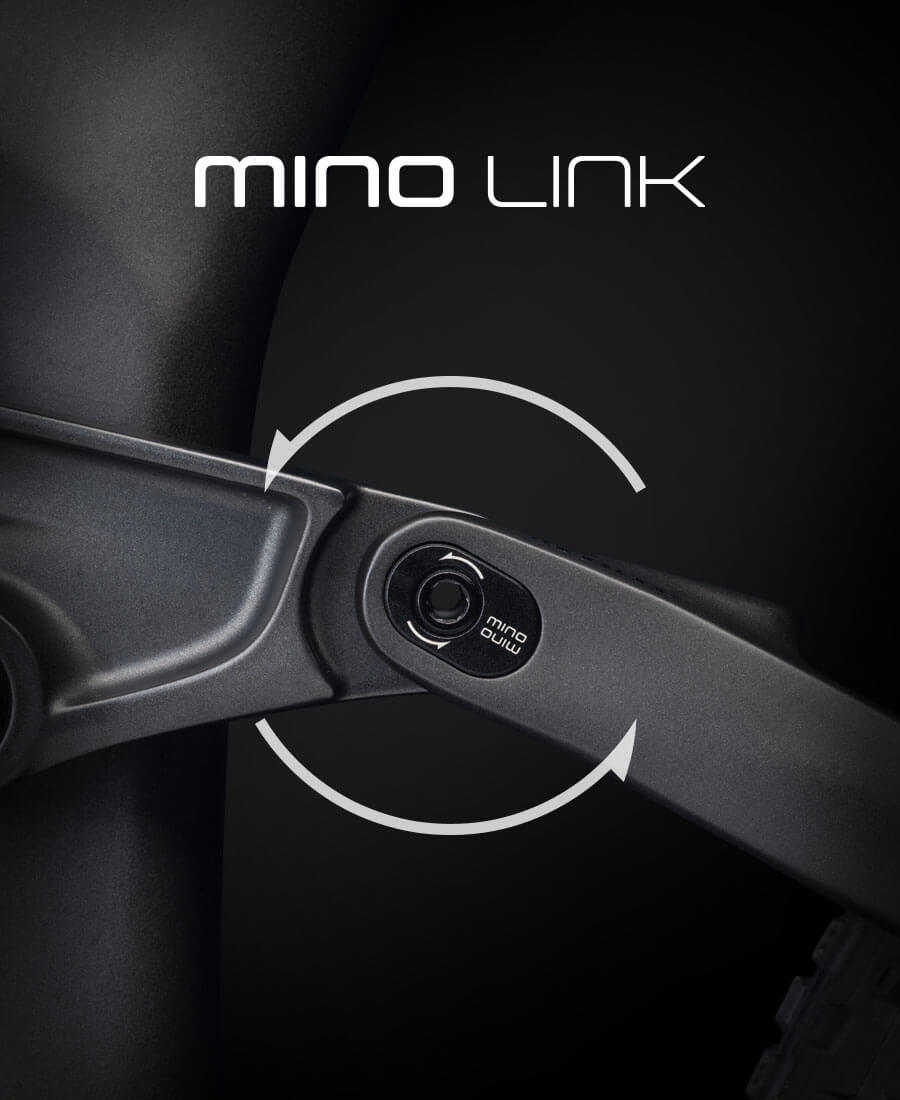
Fine tune head tube angle by ½ degree and BB height by up to 10mm with the simple turn of a nut. Just flip the link to choose between slack or slacker geometry, without negatively affecting suspension performance. A Trek exclusive.
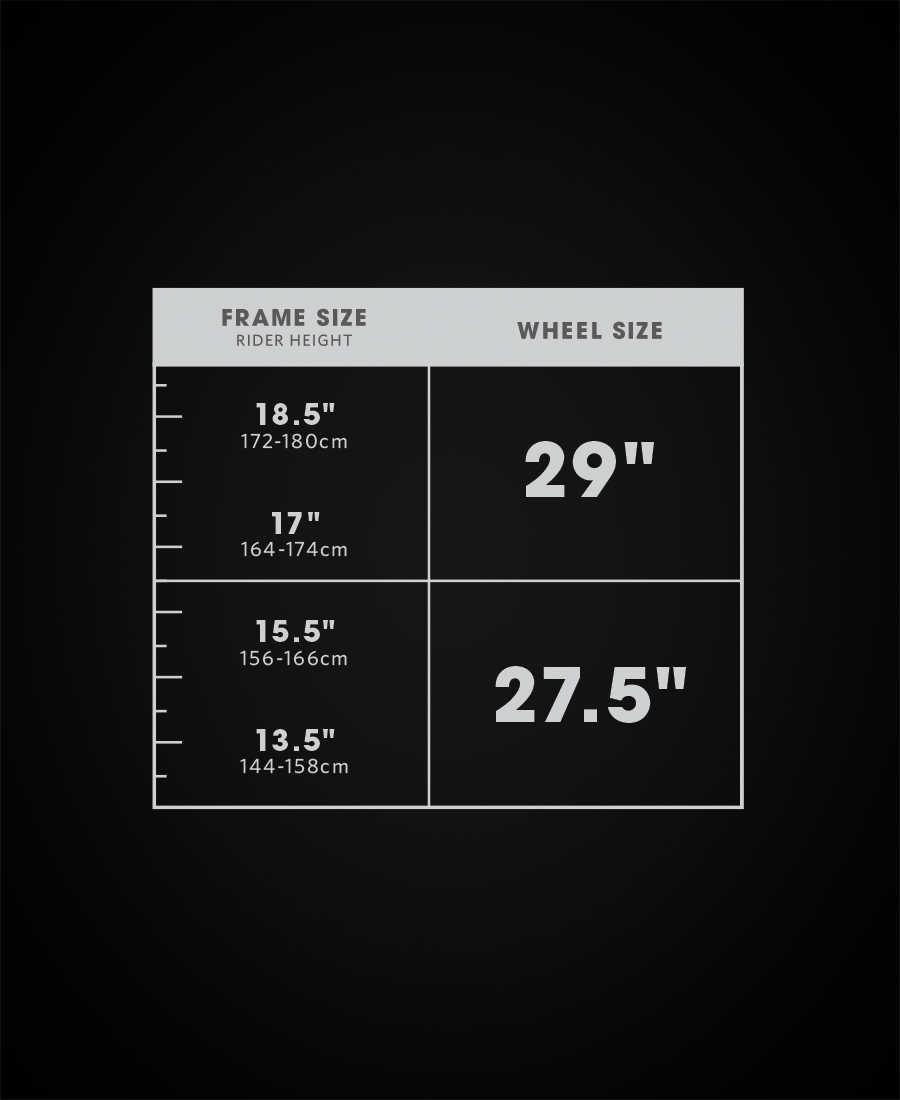
Smart Wheels Sizing
 OCLV Carbon is Trek’s patented carbon fiber process, the result of more than 25 years of experience building the world’s finest carbon fiber bicycles in Waterloo, Wisconsin, USA. Experience matters, especially when working with a material that holds seemingly endless possibilities but presents such unique challenges as carbon fiber. To understand the best technology, you have to build it, and we’ve been doing just that since 1991.
WSD Geometry
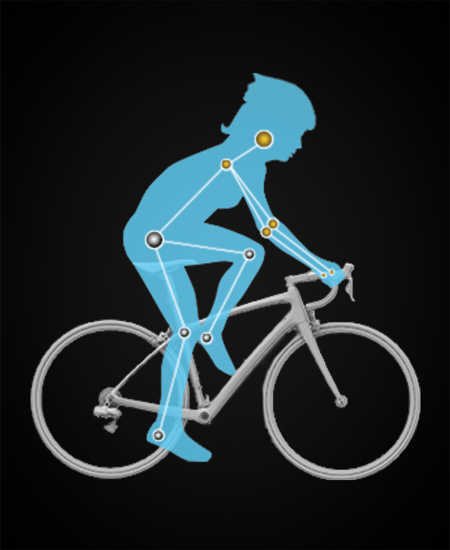
Women’s Specific Design is what we call frames and bike parts made from the ground up for women. Trek and Bontrager products with the WSD badge were conceived, designed, tested, and developed specifically for a woman’s needs.
WSD saddles, for instance, are shaped for a woman’s specific contours and soft tissue areas. WSD road and mountain bike frames are available in smaller sizes and a geometry that accounts for a woman’s proportions.
Kids Dialed
Trek Dialed Fit components adjust along with growth spurts, so you can dial in the perfect fit for years to come.
Re:Aktiv
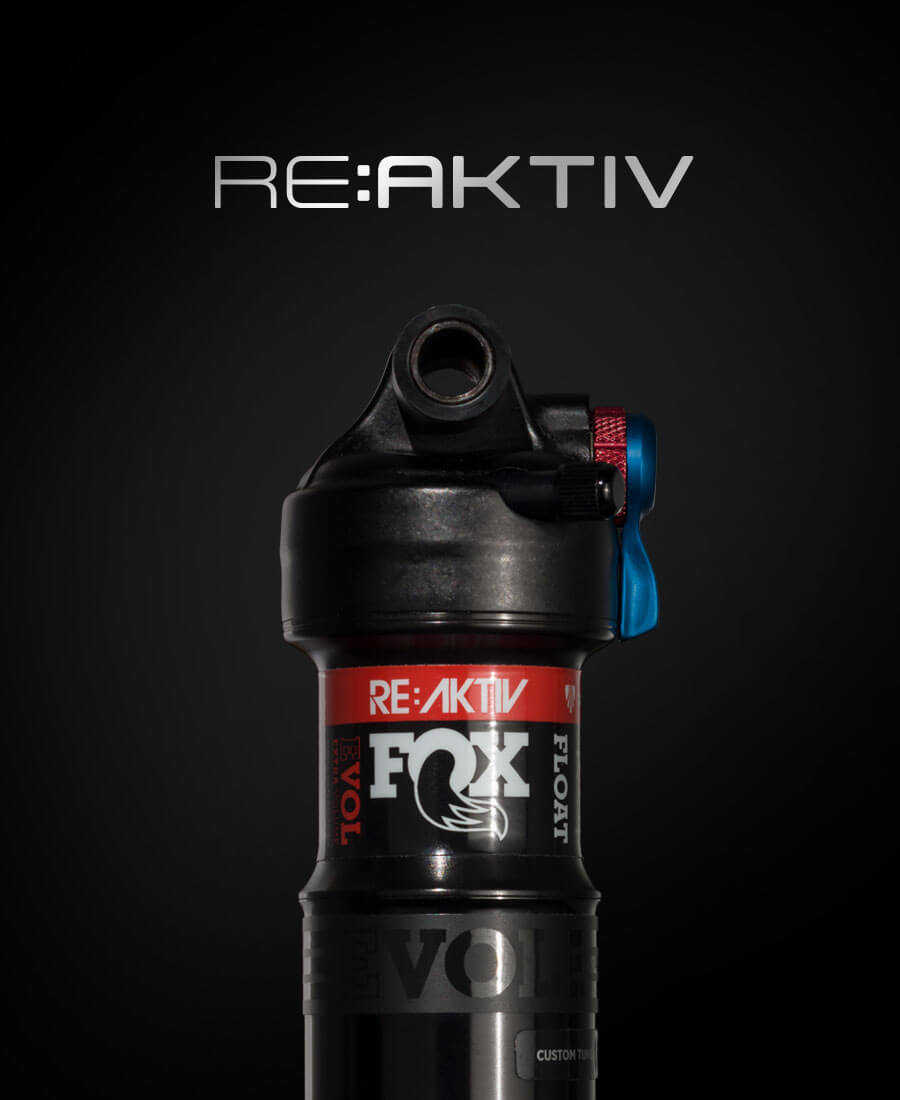
Any mountain biker understands the bliss that comes with zeroing in on the trail and nothing else. No outside distractions—including inconsistent suspension performance. That’s what it’s all about. More flow is Re:Aktiv’s greatest gift.
You’ll accelerate as aggressively as you can without losing efficiency to pedal bob. You’ll confidently take gnarly, technical lines knowing that your rear shock will provide an instant, supple response. You’ll feel the difference of a shock that immediately transitions from soft to firm as you fly out of corners. You’ll experience the beauty of simply being in the moment.
Re:Aktiv does exactly what you need it to do, exactly when you need it to. No more adjustments on the trail, no more choice between efficiency or control—pure confidence and enjoyment no matter what the trail brings you.
Active Braking Pivot
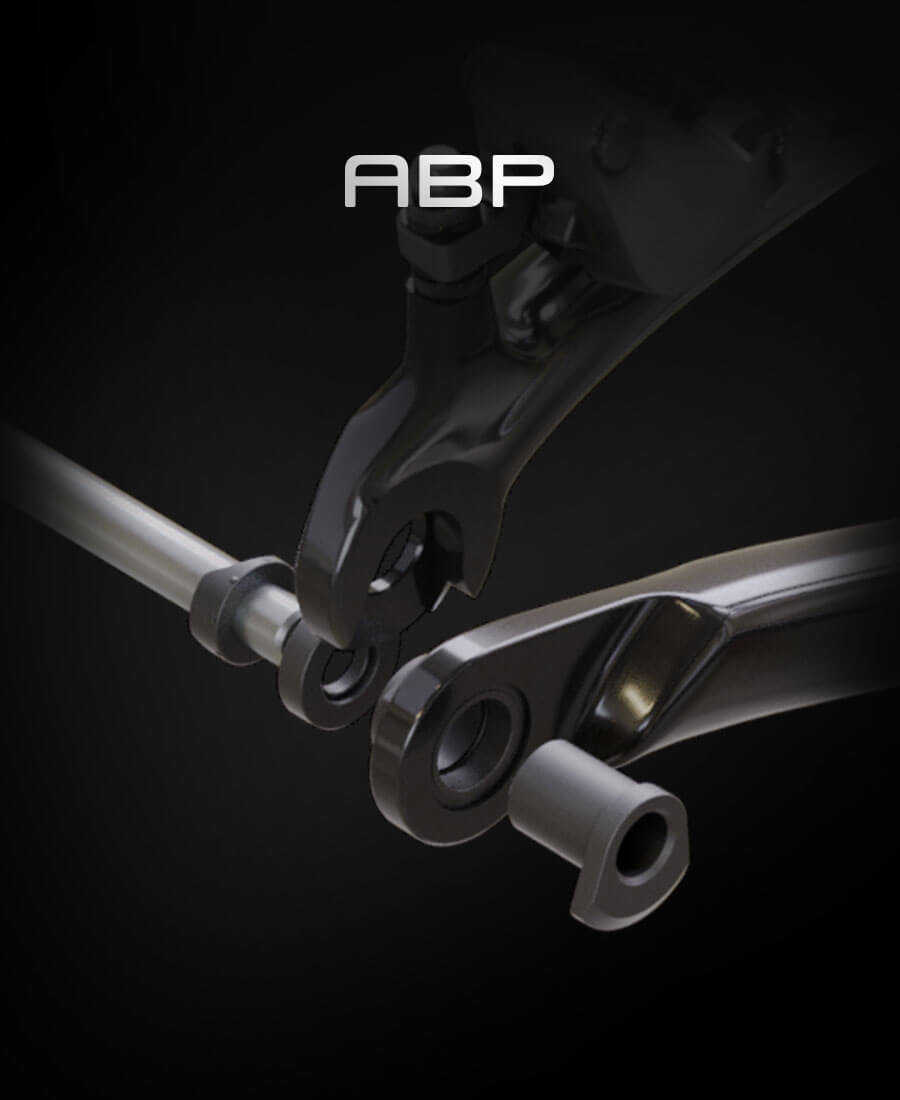 One of the greatest bicycle innovations of all time, rear suspension is intended to keep you grounded and in control. For years, various suspension designs failed to deliver the benefits of this technology when a rider would hit the brakes. Essentially, braking would lock the suspension. That was until Trek unveiled Active Braking Pivot (ABP)—a patented system developed to keep the rear suspension working while braking. No more chatter, less unintentional skidding—complete confidence on or off the brakes. That’s what ABP does.
Full Floater
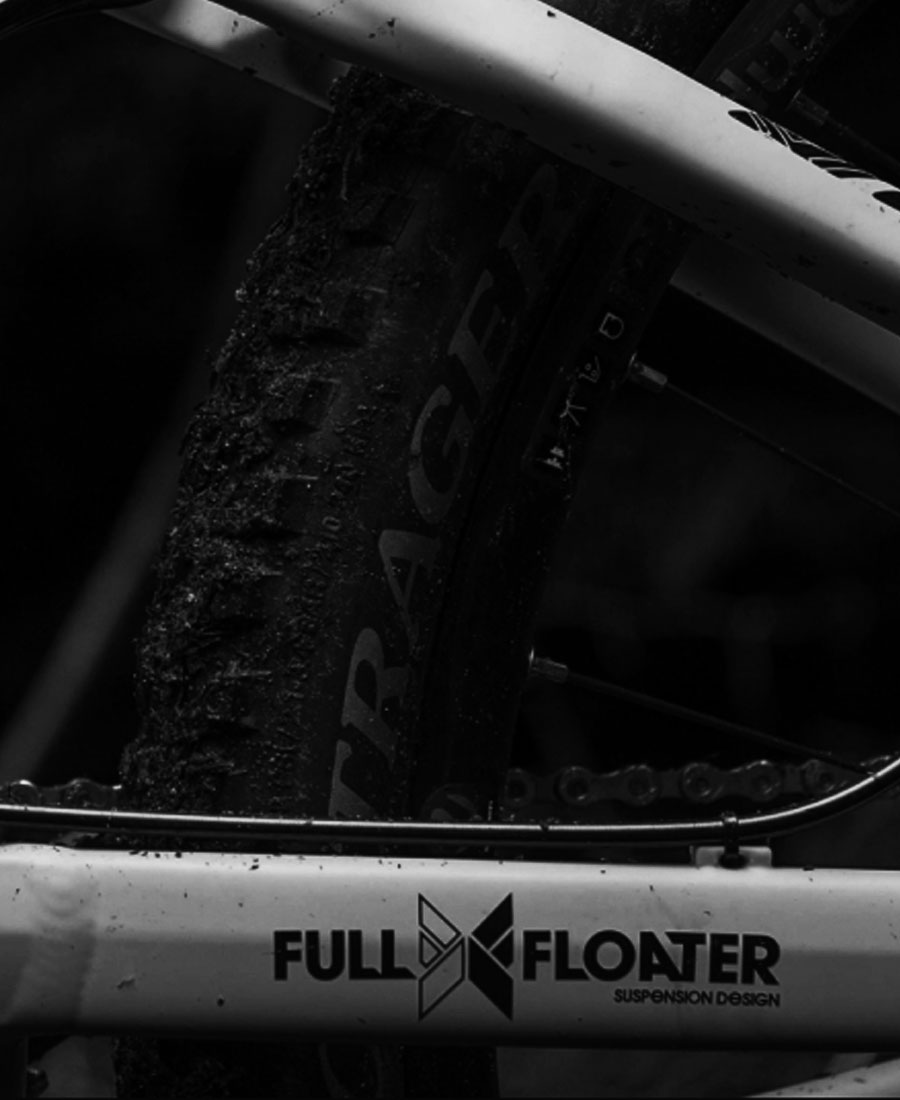
The familiar debate when purchasing a full-suspension mountain bike goes something like this: do I buy the fastest, most efficient bike possible, or a more capable, versatile platform that can take me anywhere?
Generally speaking, more travel offers greater capability, but less efficiency. Most riders are not committed to a single type of riding or trail, and finding one bike to perform effectively in all situations can be difficult. Full Floater was developed as a solution to this dilemma. Riding with a rear shock set up in Full Floater, the rider will feel as if they have more travel than they would with the same shock mounted traditionally. Because Full Floater allows for extremely supple and responsive rear suspension action, riders experience greater confidence in a variety of situations that arise on technical trails.